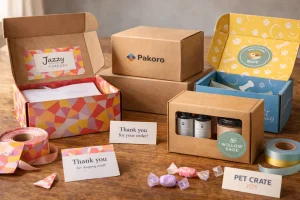
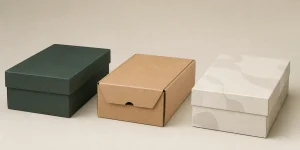
As a board‑game creator, you know your game is more than pieces and cardboard. A cleverly designed box turns the first moment of discovery into an emotional experience. This guide from Pakoro packaging experts walks you through every aspect of board‑game box design so you can build a box that protects your components and attracts customers. Let’s jump in!
Why Your Board‑Game Box Matters
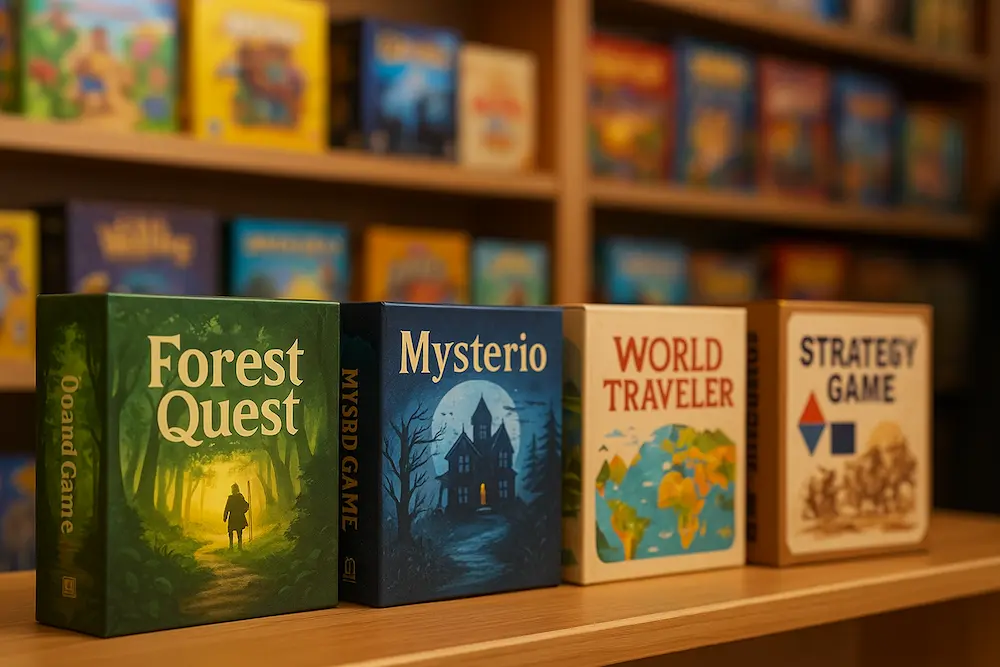
Modern players care about the unboxing experience. A well‑designed box can heighten anticipation through tactile elements like sliding drawer boxes or magnetic lids. In online shopping, photos of your box may be the only thing a buyer sees, so visually striking packaging builds confidence to purchase. Good packaging also fosters brand recognition – consistent and distinctive boxes across your product line make your games immediately recognizable.
From an engineering perspective, the box size, style, design, information and material all work together. Each decision influences costs, functionality and perception. Keep in mind that your box is often the first contact between your game and potential players; by designing it thoughtfully you increase the chance that they pick your game off the shelf.
Understand Your Target Audience
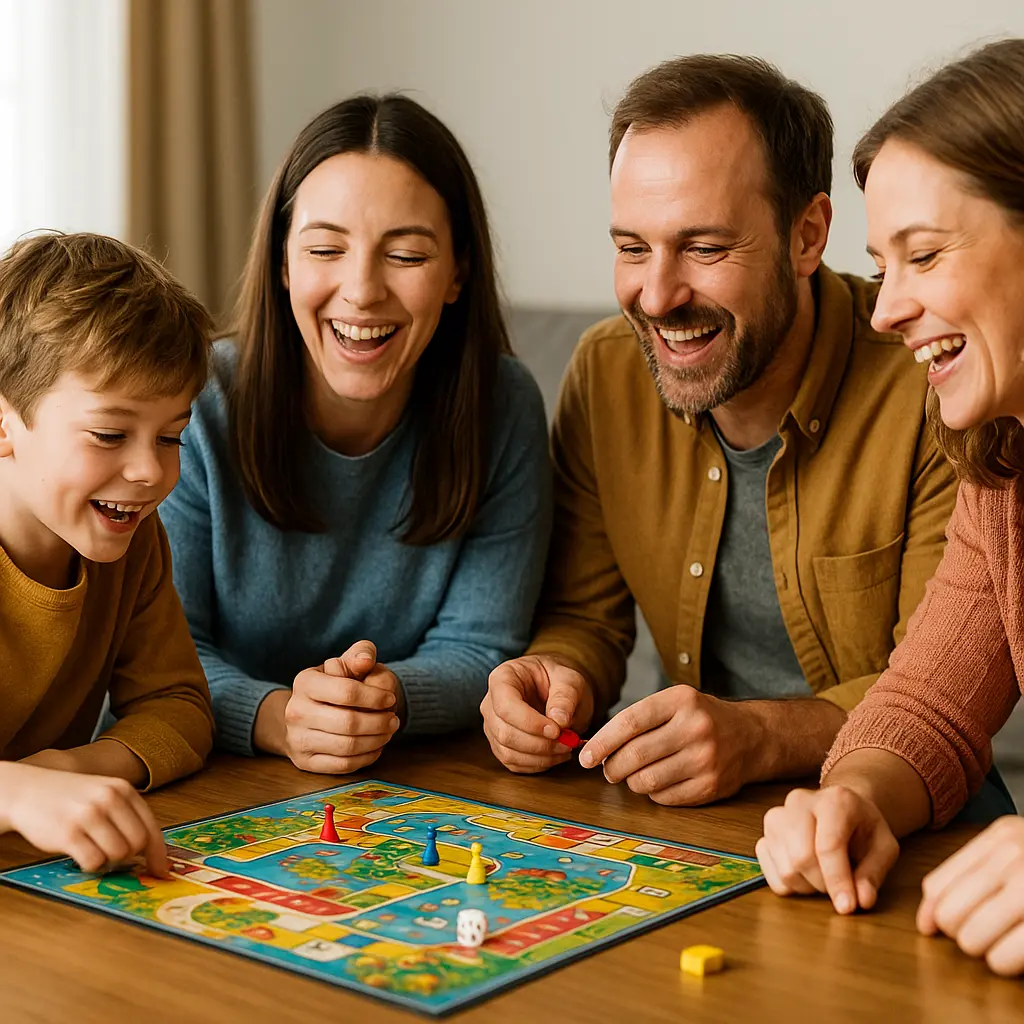
Before choosing dimensions or artwork, be clear about who will play your game. Are you designing for children, adults or both? Are your players casual party‑gamers or strategy enthusiasts? Consider their preferred themes and purchase motivations. Conduct market research and study similar games to understand what your audience values. For example, serious gamers often appreciate durable boxes with rich artwork, while party games may benefit from bright, fun graphics.
Determine the Right Dimensions and Shape

Size matters. A box that’s too small makes it hard to pack and can damage components, while an oversized box wastes material and increases shipping costs. Start by measuring every component—boards (folded or unfolded), cards, tokens, rulebook and any special pieces. Leave extra room so parts slide in easily.
Standard sizes can simplify manufacturing and display: a small box (around 5.5″×5.5″×2″), medium box (about 10.5″×5.5″×3″) or large box (11.8″×11.8″×3.15″). These sizes fit most store shelves and may reduce costs. When choosing dimensions, weigh factors such as shelf presence, portability, production budget and shipping costs. Don’t be afraid to explore unique shapes—circular or hexagonal boxes can reflect your game’s mechanics. If you plan expansions, consider extra space or modular designs.
Before committing, build prototypes and test how well everything fits. Physical samples help you catch issues that drawings might miss.
Select the Right Box Style
Box style affects both experience and cost. Here are common options:
- Tuck box: A simple folded box with a tuck‑in flap – economical and compact. Suitable for card games and travel editions but less durable and not ideal for heavy components.
- Two‑piece rigid box: A sturdy bottom and lid that offers traditional feel and protection. Great for games with many parts but can cost more and lids may loosen over time.
- Magnetic flip box: A hinged lid with a magnetic closure gives a luxurious unboxing experience. It adds perceived value but increases production cost.
- Drawer box: A sleeve slides over an inner tray, providing a memorable, organized presentation. It’s distinctive but complex to manufacture and more expensive.
- Mailer box: Lightweight packaging ideal for online sales. It’s eco‑friendly and fully printable but offers less protection and may look less traditional.
When choosing a style, balance component protection, audience expectations, price point, distribution channel and brand image.
Design an Eye‑Catching Cover
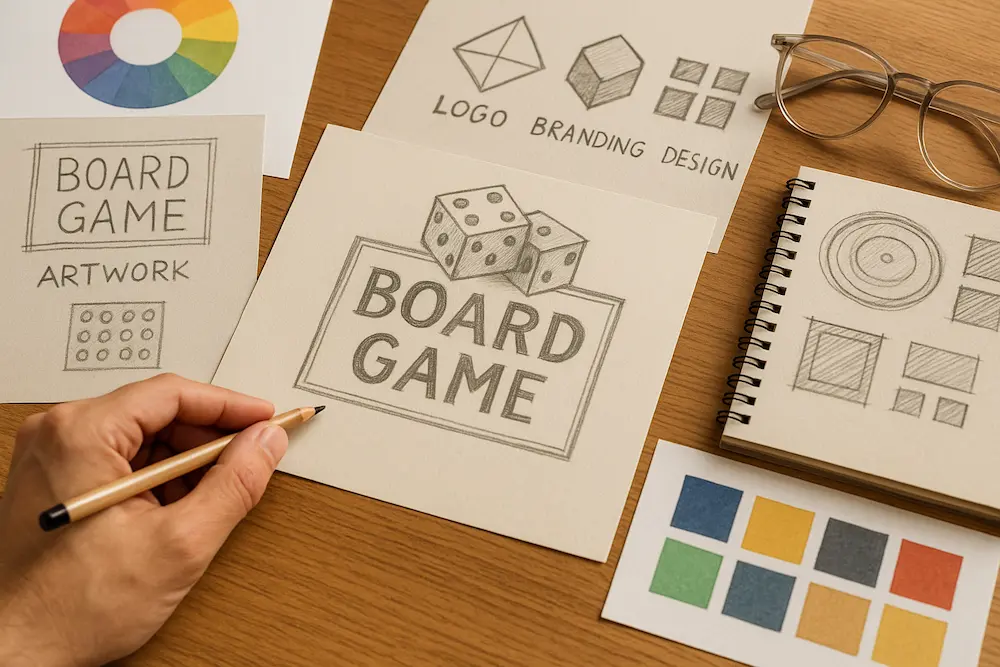
Your box cover is the face of your game. It must grab attention and communicate key information. Follow these guidelines:
- Artwork & color: Select high‑quality artwork that reflects the game’s theme and mood. Use colors that evoke the right emotion—blue for calm strategy or red for excitement.
- Composition: Arrange elements to guide the eye; apply the rule of thirds for balance.
- Typography: Choose legible fonts that match the game style. The title should be large and readable from a distance.
- Negative space: Don’t clutter the cover. Allow breathing room so the important elements stand out.
Alongside visuals, include essential information: player count, age range, playing time and a brief description. Consider adding icons, publisher/designer names and a list of key components. Prototype your cover and test it under different lighting and from various distances to ensure readability.
Incorporate Branding and Artwork
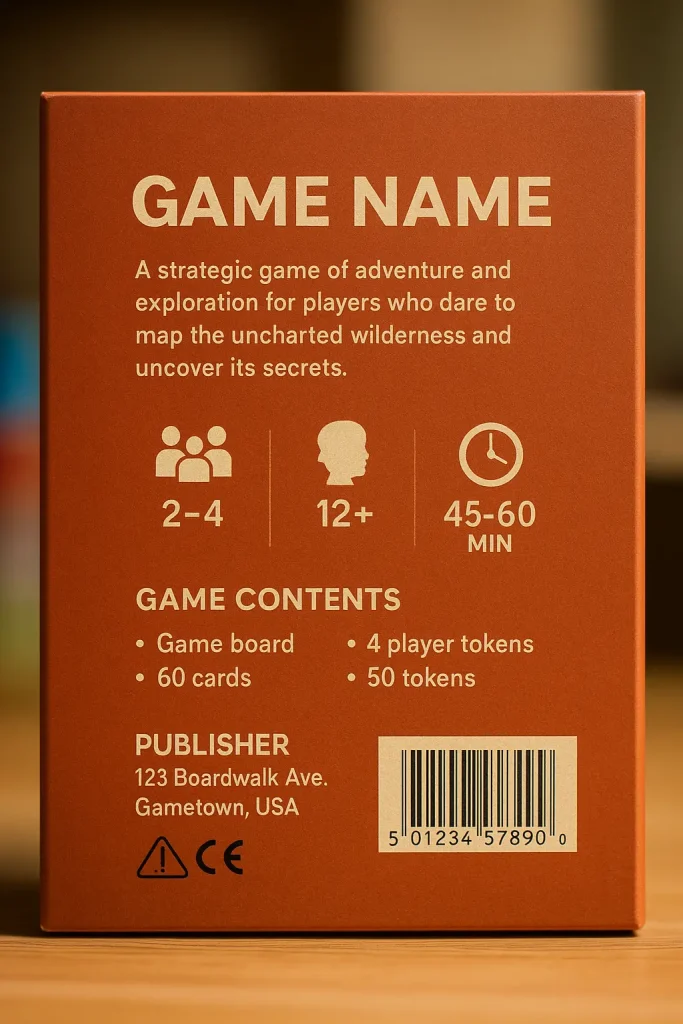
Branding and artwork work together to give your game a unique identity. Start by crafting a strong brand identity: create a distinctive logo, choose a consistent color palette and select complementary fonts. Develop custom icons or visual motifs that reflect your game’s theme.
When integrating artwork:
- Ensure the art accurately represents the game’s theme and maintain a consistent style across the box.
- Showcase characters or scenes to spark imagination.
- Balance branding and art using clear hierarchy and negative space. Look for creative ways to integrate the logo into the artwork.
Stay aware of printing limitations, plan for future expansions and ensure cultural sensitivity for international markets. Make mock‑ups and gather feedback to refine your design.
Add Necessary Information and Instructions
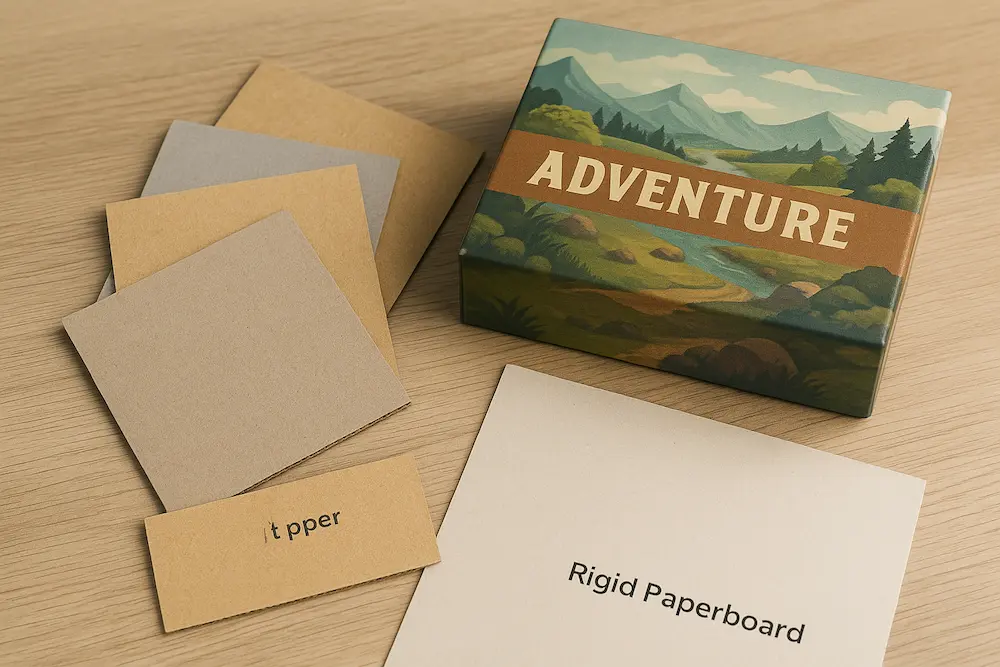
Information is just as important as artwork. Clearly include the game title, player count, age range, playing time and a brief description. List key components, credit the designer/publisher and add a barcode and safety warnings. Use the back of the box for detailed information—organize text into sections and bullet points. Icons for players, age and duration save space and are quickly recognized. A QR code can link to video tutorials or your website.
Highlight unique selling points such as awards, distinctive mechanics or available expansions. If space allows, include a quick‑start diagram or first‑turn guide to get players into the game faster. Always proofread, translate accurately for international markets and test prototypes to ensure clarity.
Choose the Right Material
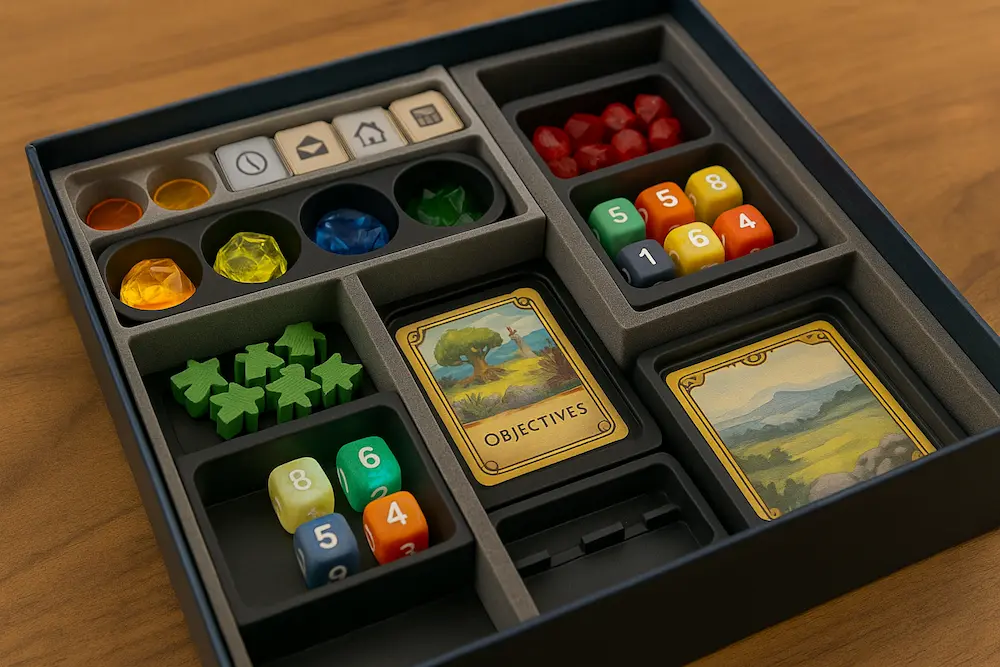
The material you select affects durability, appearance and environmental impact. Common options include:
- Cardboard: Lightweight, sturdy and cost‑effective with good printability. It’s ideal for most standard games but less durable and susceptible to moisture.
- Kraft paper: Eco‑friendly with a rustic look. It’s inexpensive but limited in color and may not suit glossy designs.
- Corrugated paper: Offers extra protection through a wavy inner layer. Great for heavier games but bulkier and may require finishing for a smooth appearance.
- Rigid paperboard: Premium, dense material with superior strength and a luxurious feel. It’s perfect for collector editions but heavier and more expensive.
When choosing, consider game weight, target market, theme, budget and environmental goals. Innovative materials like biodegradable plastics or recycled ocean plastics are emerging options for eco‑conscious brands.
Explore Custom Inserts and Finishes
Custom inserts organize and protect components.
- Paper/cardboard inserts: Recyclable, inexpensive and printable—best for lighter pieces.
- EVA foam inserts: Provide excellent protection and can be cut to shape—ideal for delicate components.
- Vacuum‑formed plastic inserts: Durable and often transparent, useful for games with many small pieces.
- Custom‑molded plastic inserts: Offer a high‑end look and precise fit but cost more.
Finishing touches elevate your box. Gloss, matte or soft‑touch lamination affects the tactile feel. Spot UV adds glossy highlights to specific elements. Foil stamping introduces metallic accents. Embossing/debossing creates texture, and die‑cut windows can reveal components.
Plan for Printing and Production
Even the best design can fail without proper production. Ensure your files include sufficient bleed and margins to avoid unwanted borders. Choose the right color mode (CMYK or Pantone) and ensure images are high‑resolution (300 dpi or higher). Provide dieline files for complex folds and use vector graphics for text and logos. Confirm with your printer which file formats they prefer.
Collaborate early with your manufacturing partner to resolve any technical constraints. Producing a prototype helps you catch issues before mass production. At Pakoro, we work closely with clients to smooth the production process and ensure the final product meets expectations.
Ready to Build Your Perfect Board‑Game Box?
Your board‑game box is more than a container—it’s a marketing tool, a storyteller and a protector. By understanding your audience, choosing the right size and style, designing an eye‑catching cover, integrating branding, providing clear information, selecting quality materials, adding thoughtful inserts and planning for production, you set your game up for success.