You already know packaging is silent marketing.
A handcrafted DIY wood jewelry box goes one step further: it tells your story.
When clients open a solid walnut lid and see your logo inside, they remember you— not the competition.
Plus, you control quality, finish, and sustainability from start to finish.
1. Gather Your Materials and Tools
Choose the right wood
Hardwoods: oak, walnut, maple
Thickness: ½ – ¾ inch keeps the box sturdy without adding excess weight.
Eco note: FSC-certified boards reinforce your green credentials.

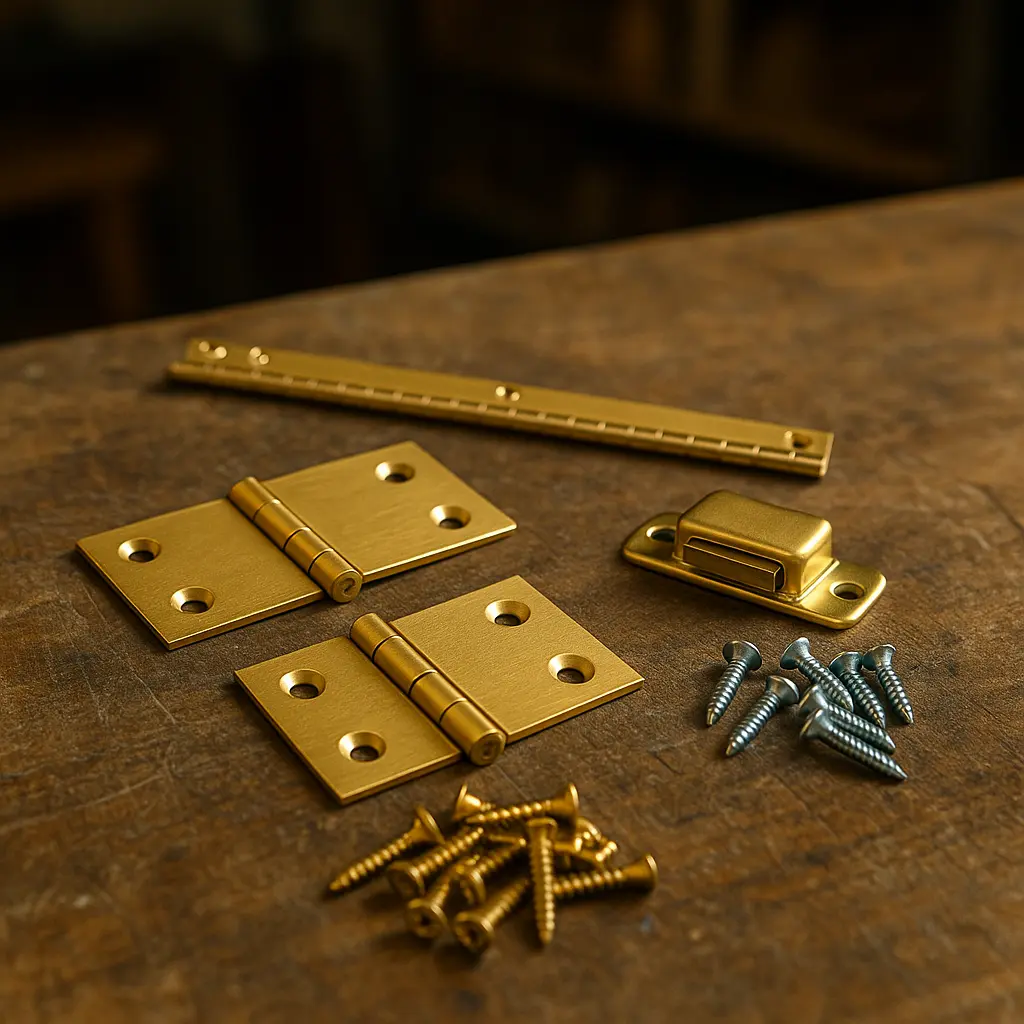
Select quality hardware
- Brass butt hinges or a slender piano hinge
- Magnetic latch for a clean front (no visible clasp)
- Screws that match the metal finish
Must-have tools
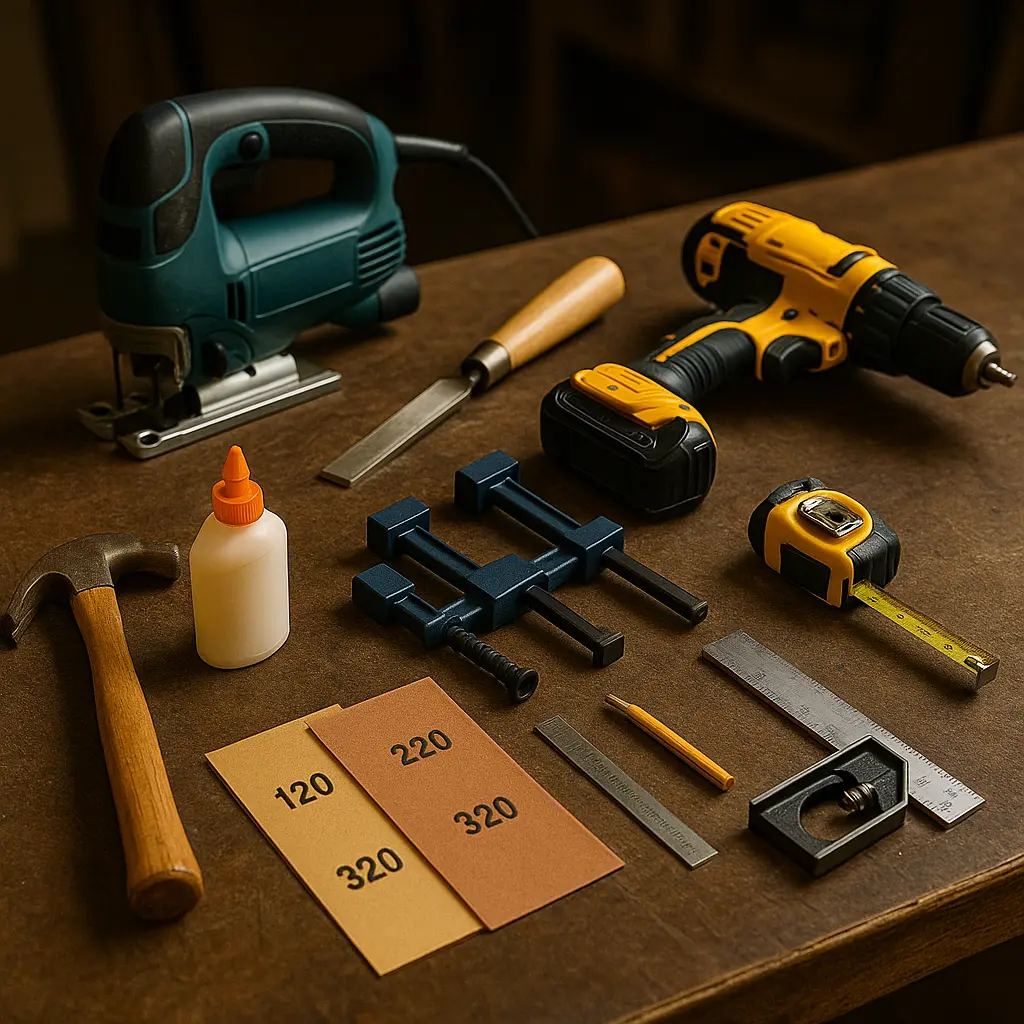
- Table saw or jigsaw
- Chisel and router for grooves
- Drill + countersink bits
- Clamps, wood glue, hammer
- Sandpaper (120, 220, 320 grit)
- Measuring tape, square, pencil
With these basics, you’re set to start cutting.
2. Design and Plan Like a Pro
Sketch your layout
Draw the box from three angles. Mark overall size (12 × 8 × 6 in) and interior compartments— for example, a 2 × 2 × 1 in slot for rings and a 4 in channel for necklaces.
Lock in dimensions
Write every measurement beside the sketch. Precise numbers beat guesswork and save wood.
Main body: 12 × 8 × 6 in
Lid: 12 × 8 × ¾ in
Ring tray slot: 2 × 2 × 1 in
Necklace well: 8 × 1 × 1 in
By planning now, you’ll avoid trimming errors later.
3. Cut and Shape the Wood
- Measure twice, cut once. Use a square to keep edges true.
- Rip and crosscut panels on the table saw, following your plan.
- Rout shallow grooves where dividers or the bottom panel will sit.
- Dry-fit every piece before you add glue.

Accurate cuts ensure that the box closes flush— a must for luxury perception.
4. Assemble With Strength and Speed
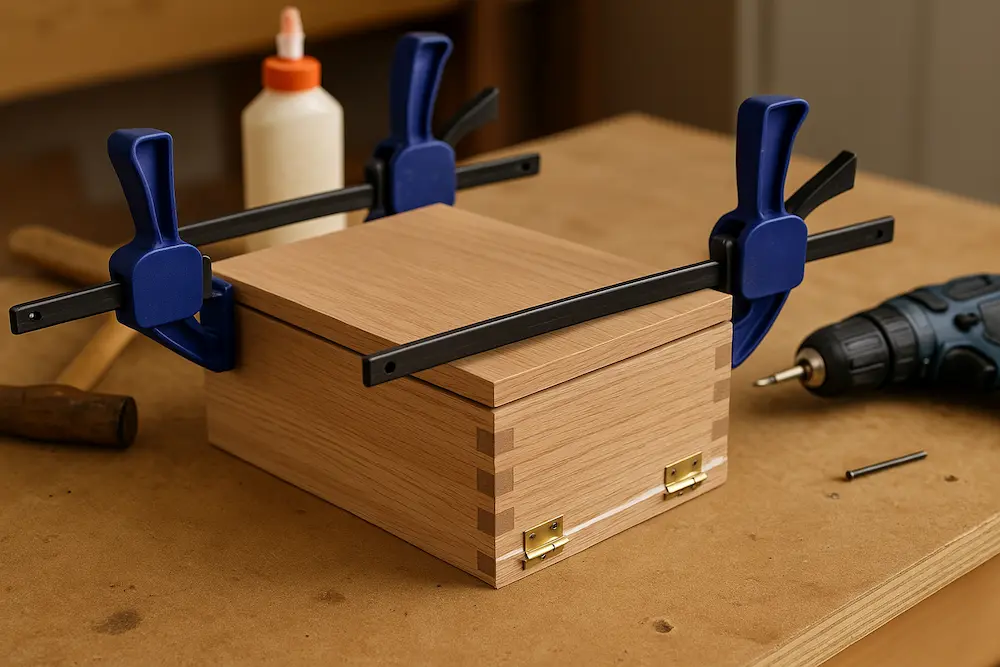
- Apply wood glue along every joint.
- Clamp firmly for at least 30 minutes.
- Reinforce with 1 in screws once the glue grabs.
- Attach hinges 1 in from each corner for even weight distribution.
A tight, square assembly means the lid aligns perfectly with the base.
5. Sand and Finish for Showroom Shine
Start with 120-grit to knock down saw marks. Move to 220, then 320 for a silky touch. Wipe dust away after each pass.
Finish options
- Clear wax: keeps the pale tone, adds soft sheen.
- Oil-based stain: deepens color and highlights grain.
- Water-based lacquer: fast-dry, low-VOC, high clarity.
Apply thin coats, letting each dry fully. Lightly sand with 400-grit between coats for a flawless surface.

6. Customize and Decorate
Engrave your logo
Burn or laser-etch your brand on the inner lid. That subtle detail becomes free advertising every time the box opens.
Stain or paint
Match your brand palette. Water-based stains keep wood texture visible; paints create bold color blocks.
Add liners and compartments
- Cut velvet or satin to size.
- Glue fabric inside to prevent scratches.
- Slot thin wooden dividers for rings, earrings, and pendants.
Now each piece has a safe, dedicated home.
7. Showcase, Sell, or Gift
You’ve built a robust, elegant wooden jewelry box that mirrors your brand values. Present it to clients or loved ones and watch their eyes light up. Need multiple units or laser-precise logos? Pakoro can scale your design while maintaining craftsmanship— reach out here.