To make flashcards, first define their purpose and size. Then, design both sides, organize the content, prepare print-ready files, and select durable cardstock and finishes. Finally, choose packaging that keeps the complete deck organized.
Whether you need educational cards, training tools, product guides, or promotional materials, this guide shows you how to make flashcards in seven practical steps.
At Pakoro, we help you manage custom flashcard printing, finishing, collation, packaging, and international delivery.
How Can You Use Custom Flashcards?
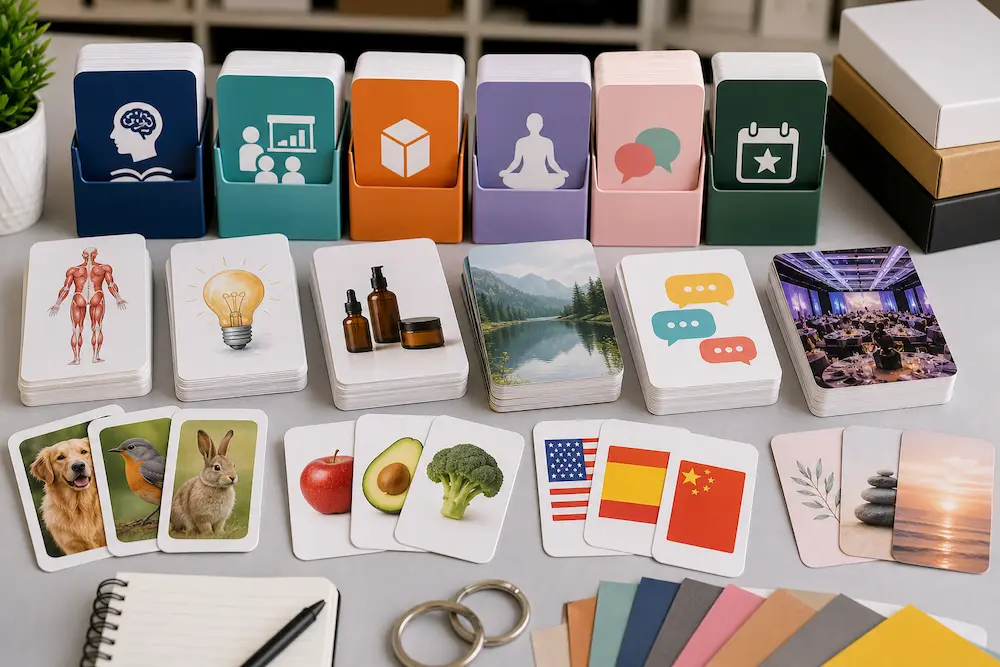
Flashcards are not limited to classroom learning. You can use them to communicate almost any short, repeatable message.
Common applications include:
- Language learning cards
- Mathematics cards
- Children’s educational cards
- Employee training materials
- Medical study cards
- Product sample cards
- Instruction cards
- Affirmation cards
- Recipe cards
- Promotional card sets
- Event marketing materials
Because flashcards are portable, your customers can use them at home, at work, or while traveling.
You can also include a flashcard deck inside your product packaging. For example, each card can explain one product feature or show one step in a process.
Before designing your cards, ask yourself:
“What should your customer understand, remember, or do after using this deck?”
Your answer will guide every production decision.
Step 1: Choose the Right Flashcard Size
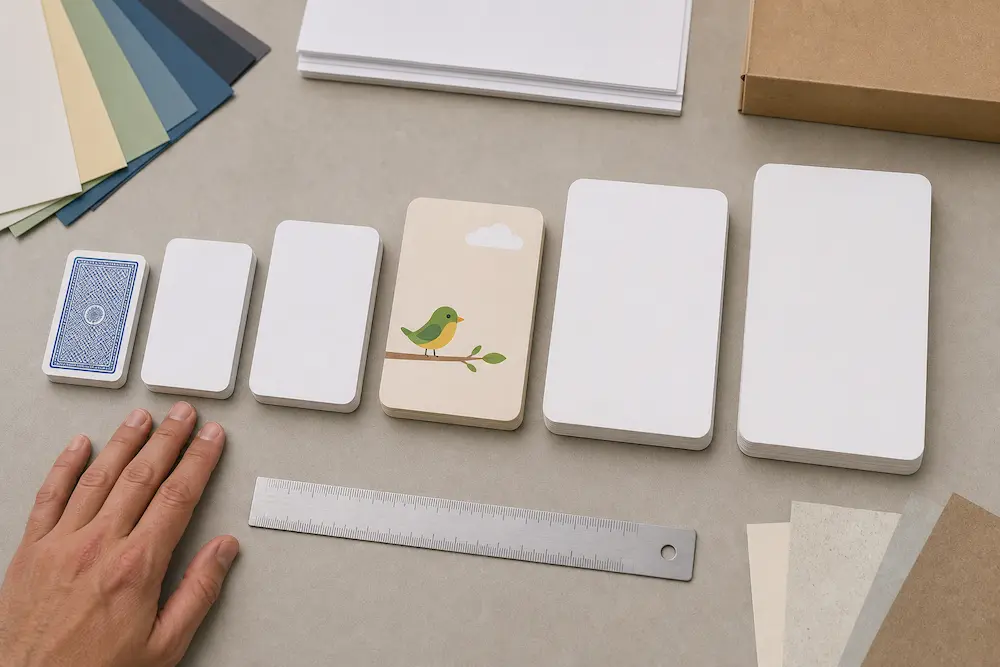
The best flashcard size depends on your content, audience, and packaging.
Common sizes include:
- 2.5 × 3.5 inches: portable playing-card format
- 3 × 5 inches: suitable for short learning content
- 4 × 6 inches: provides more space for images
- 5 × 7 inches: useful for instructions and presentations
- Custom sizes: suitable for unique products and packaging
Smaller cards are easy to carry. However, they provide less space for text and images.
Larger cards improve readability and allow more detailed content. However, they cost more to print, package, and ship.
You should also consider the user’s hands. Larger cards may be easier for children or older customers to handle.
Choose your packaging before finalizing a custom size. Otherwise, you may need an expensive custom box later.
Step 2: Design the Front and Back Layout
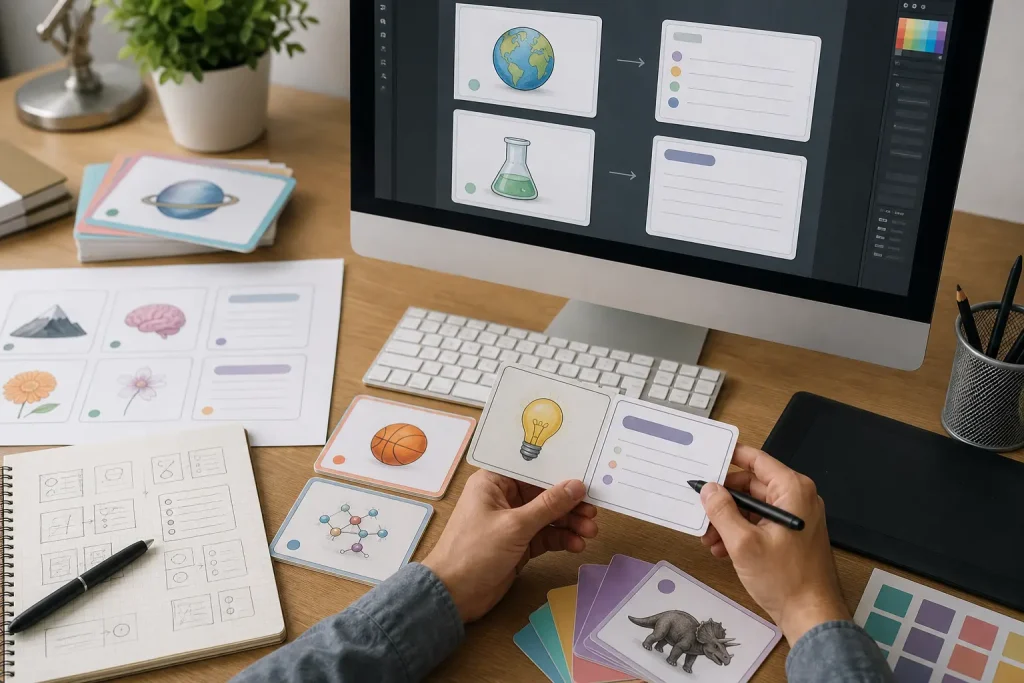
A simple layout helps your customer understand each card quickly.
Generally, the front should introduce one idea. Meanwhile, the back should provide the answer or supporting information.
For example:
- Front: question; Back: answer
- Front: term; Back: definition
- Front: image; Back: explanation
- Front: product; Back: features
- Front: problem; Back: solution
- Front: instruction number; Back: action
Keep important information away from the card edges. This prevents text and images from being cut during trimming.
You should also leave enough white space. A crowded flashcard is harder to read and remember.
If your cards need a binder ring, reserve enough space for the drill hole. Do not place text or important images in this area.
Step 3: Add Visuals, Colors, and Contrast
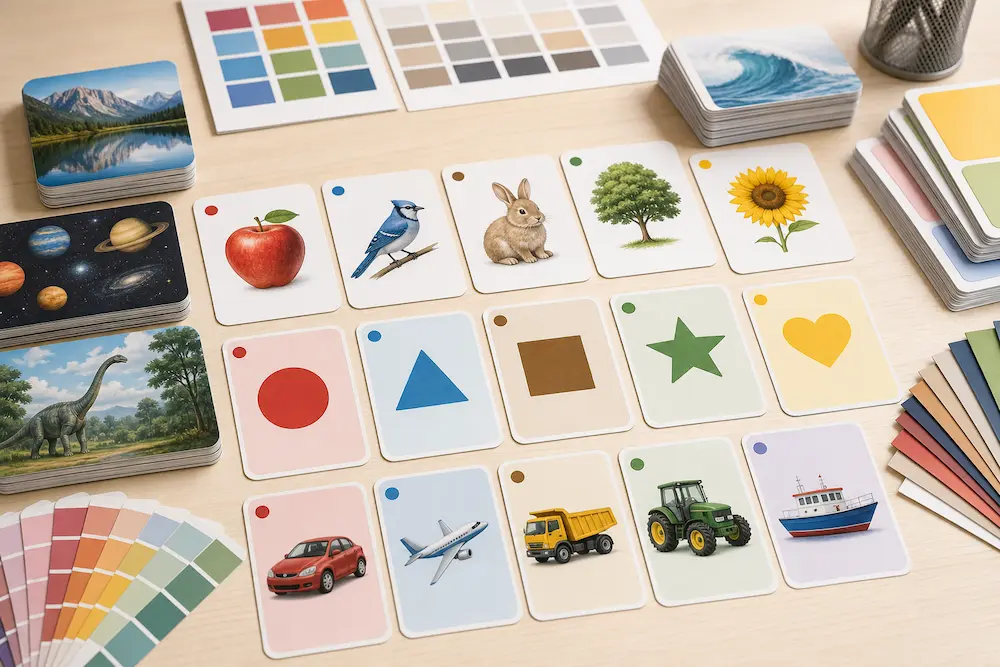
Strong visual elements can make your flashcards easier to understand.
You can use:
- Product photographs
- Illustrations
- Diagrams
- Charts
- Simple icons
- Patterns
- Color-coded categories
For professional printing, your images should normally have a resolution of approximately 300 DPI at the final printed size.
Use strong contrast between the text and background. Dark text on a light background is usually easy to read. However, light text can also work when the background is consistently dark.
Avoid using too many colors on one card. Instead, select a limited palette that matches your brand.
You can use different colors to identify categories. For example, blue may represent beginner cards, while green represents advanced cards.
Remember that color should organize your information, not distract from it.
Step 4: Organize Your Flashcard Content
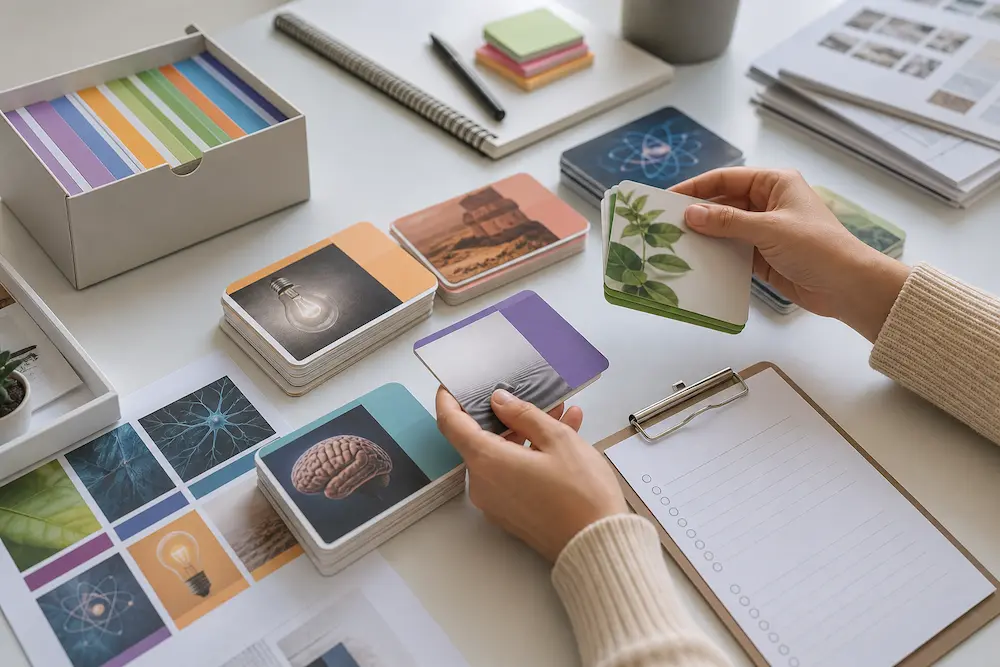
Each flashcard should focus on one main idea.
Short content is easier to read and remember. Therefore, remove unnecessary words before you approve the design.
Check whether:
- Every card has a clear purpose
- The text is short and direct
- Font sizes are consistent
- Categories follow a logical order
- Questions match the correct answers
- Images match the content
- Card numbers are correct
- There are no duplicate cards
- Spelling and grammar are accurate
You should also print a simple paper mockup. Hold the cards in your hands and check whether the text feels comfortable to read.
Then, ask someone unfamiliar with the project to test the deck. Their feedback may reveal unclear instructions or missing information.
Step 5: Prepare Flashcards for Printing
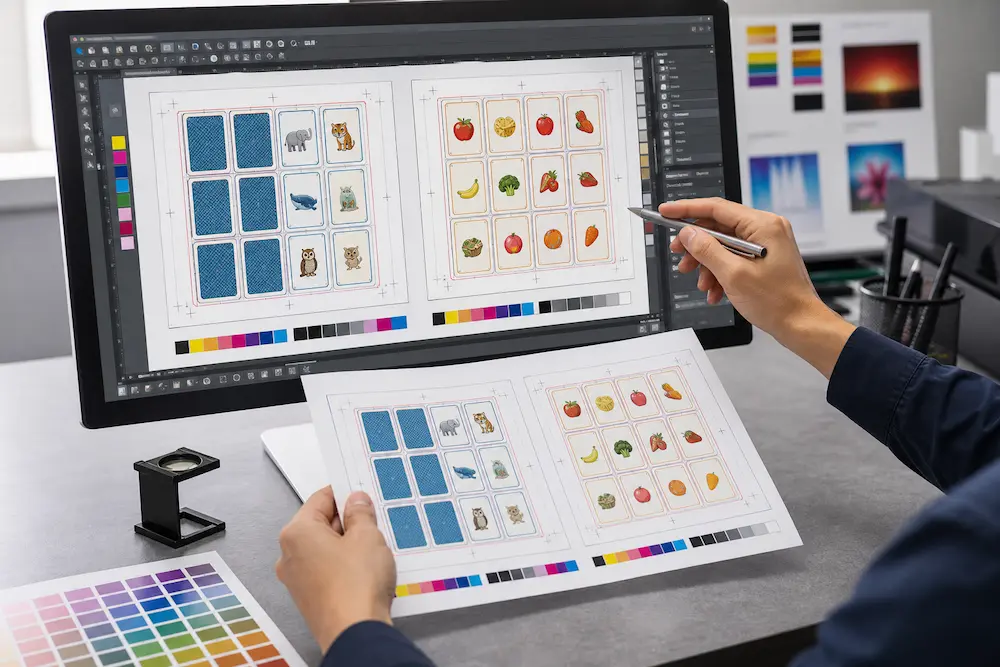
Correct files help you avoid printing delays and unexpected results.
Prepare your artwork with:
- CMYK colors
- Images at approximately 300 DPI
- Correct finished dimensions
- At least 3 mm bleed
- Safe margins
- Embedded or outlined fonts
- Separate front and back designs
- Clear card sequence
- Print-ready PDF files
The bleed extends your background beyond the cutting line. Therefore, small trimming variations will not create unwanted white edges.
Keep text and essential images inside the safe area. Rounded corners and drill holes may require additional space.
If every card has a different front and back, clearly explain how the sides should match. You can provide a spreadsheet or numbered file list to prevent incorrect pairing.
Always request a proof before mass production. Your proof should confirm:
- Finished size
- Front-to-back alignment
- Colors
- Image quality
- Text size
- Card order
- Corner shape
- Paper thickness
Step 6: Select Paper and Finishing Options
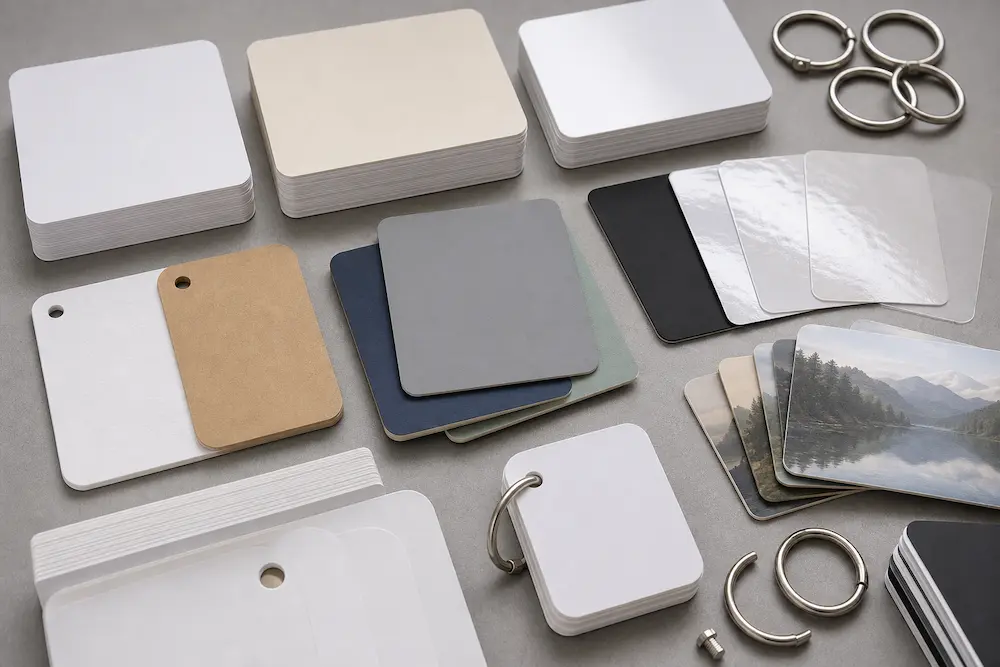
Your flashcards will probably be handled frequently. Therefore, you need paper that resists bending and surface damage.
Thick cardstock generally provides the best user experience.
Possible materials include:
- Coated cardstock
- Uncoated cardstock
- Recycled cardstock
- Synthetic paper
- Plastic cards
Coated stock produces smooth colors and clear images. Meanwhile, uncoated stock feels more natural and allows customers to write on the cards.
You can also add:
- Matte lamination
- Gloss lamination
- Soft-touch lamination
- UV coating
- Rounded corners
- Foil stamping
- Spot UV
- Embossing
- Drill holes
- Binder rings
Lamination improves moisture and scratch resistance. However, it may prevent customers from writing on the card.
Rounded corners reduce sharp edges and make a deck feel more polished. They are especially useful for children’s flashcards.
Step 7: Choose Custom Flashcard Packaging
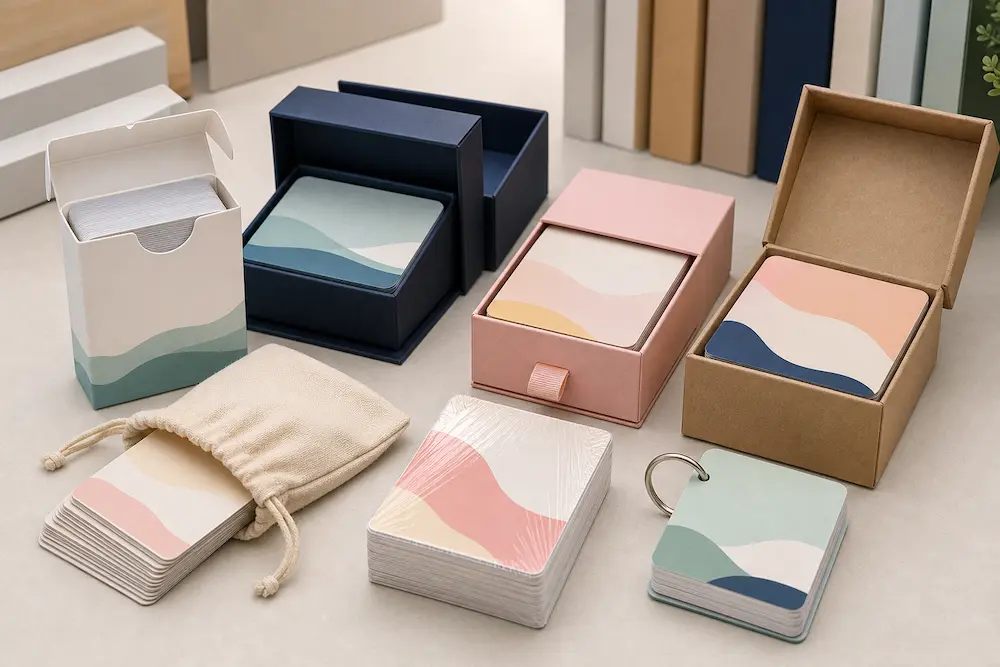
Packaging keeps your cards in the correct order and protects them during storage.
Your packaging options include:
- Tuck-end boxes
- Two-piece rigid boxes
- Drawer boxes
- Kraft paper boxes
- Magnetic closure boxes
- Fabric pouches
- Shrink wrapping
- Paper belly bands
- Binder rings
A tuck box is affordable and suitable for standard retail decks. However, a rigid box creates a more premium experience.
If your deck contains many cards, consider adding an insert or divider. This prevents cards from moving inside the package.
Pakoro can manufacture your cards and box together. Therefore, the packaging dimensions can be matched to the finished card thickness.
What Affects Custom Flashcard Printing Cost?
Your price depends on:
- Card size
- Number of cards per deck
- Paper material
- Card thickness
- Printing colors
- Order quantity
- Lamination or coating
- Rounded corners
- Drill holes and rings
- Collation requirements
- Packaging type
- Shipping destination
Collation is especially important. Each deck must contain the correct cards in the correct sequence. Therefore, a large deck with unique cards may cost more to assemble.
Higher quantities usually reduce the unit price. However, you should compare those savings with your storage and sales needs.
Custom Flashcard Printing Checklist
Before requesting a quotation, prepare:
- Finished card size
- Number of cards per deck
- Double-sided or single-sided printing
- Paper type and thickness
- Order quantity
- Surface finish
- Corner style
- Card sequence
- Packaging type
- Shipping destination
Contact Pakoro for custom flashcard printing and packaging:[Add Pakoro email, WhatsApp, phone number, or inquiry link]
Final Thoughts
Learning how to make flashcards begins with a clear purpose. Once you understand your customer, you can choose the right size, layout, content, material, finish, and packaging.
Keep each card simple. Use strong visual hierarchy, readable colors, and consistent design. Most importantly, check a physical proof before mass production.
With Pakoro, you can produce a complete flashcard set that is durable, organized, and ready for retail or education.